
Upgrade Your Leak Detection Game
Become frustrated with the frustration caused by locating leaks within your system? Have a look, dude! I am an expert in detecting leaks and throughout my career acquiring expertise with vacuum leakage tester. They are revolutionizing the process with regards to maintaining devices, and I am looking forward to go through the most common questions about these.
What's a vacuum leakage tester, anyway?
How do you actually use this thing, I wonder?
Why do systems get these leaks? Let's get into what usually causes 'em.
So how do you actually improve my system with one of these gadgets, right?
So how do you really get the best use of one of these thingamajigs, you ask?

So, a vacuum leakage tester—or gauge or leak detector as it's sometimes called—is a tool used to detect and quantify air leaks in systems with vacuum pressure. These devices show up everywhere from heating and air conditioning systems, to refrigerators, and even in cars' turbochargers. Identify and address these leaks, and you'll reduce expenses, improve performance, and prevent future equipment failures.

They run on measuring the differences in pressure inside those systems. You got this sophisticated gauge for measuring vacuum strength, plus a probe you insert into the system to detect any leaks. The probe functions like a detective; it determines what is occurring by seeing how the air movement around it.

Array regarding things can make systems achieve this leakage. The usual culprits are aging seals, rubber tubes that damaged, shaky connections, or maybe a subtle device in the works that caapplications obstructions. Locateing out the actual situation on this holes is super important if yoapplicationlf wanna accurately address issues and achieve them properly repaired.

Regular inspections with the tool can significantly enhance how well yoapplicationlfr system works. Locateing and repairping holes? yoapplicationlf achieve more traction strength, conserve energy, and yoapplicationlf don't end up needing costly fixes in the future.

Just follow these easy steps for operating the tester right. Begin by ensuring that gauge aligns the subject you're testing. Next, examine all components, piece by piece, searching for any air leaks. Stay vigilant for alterations on the pressure gauge as you move that sensor around inspecting all those various parts.
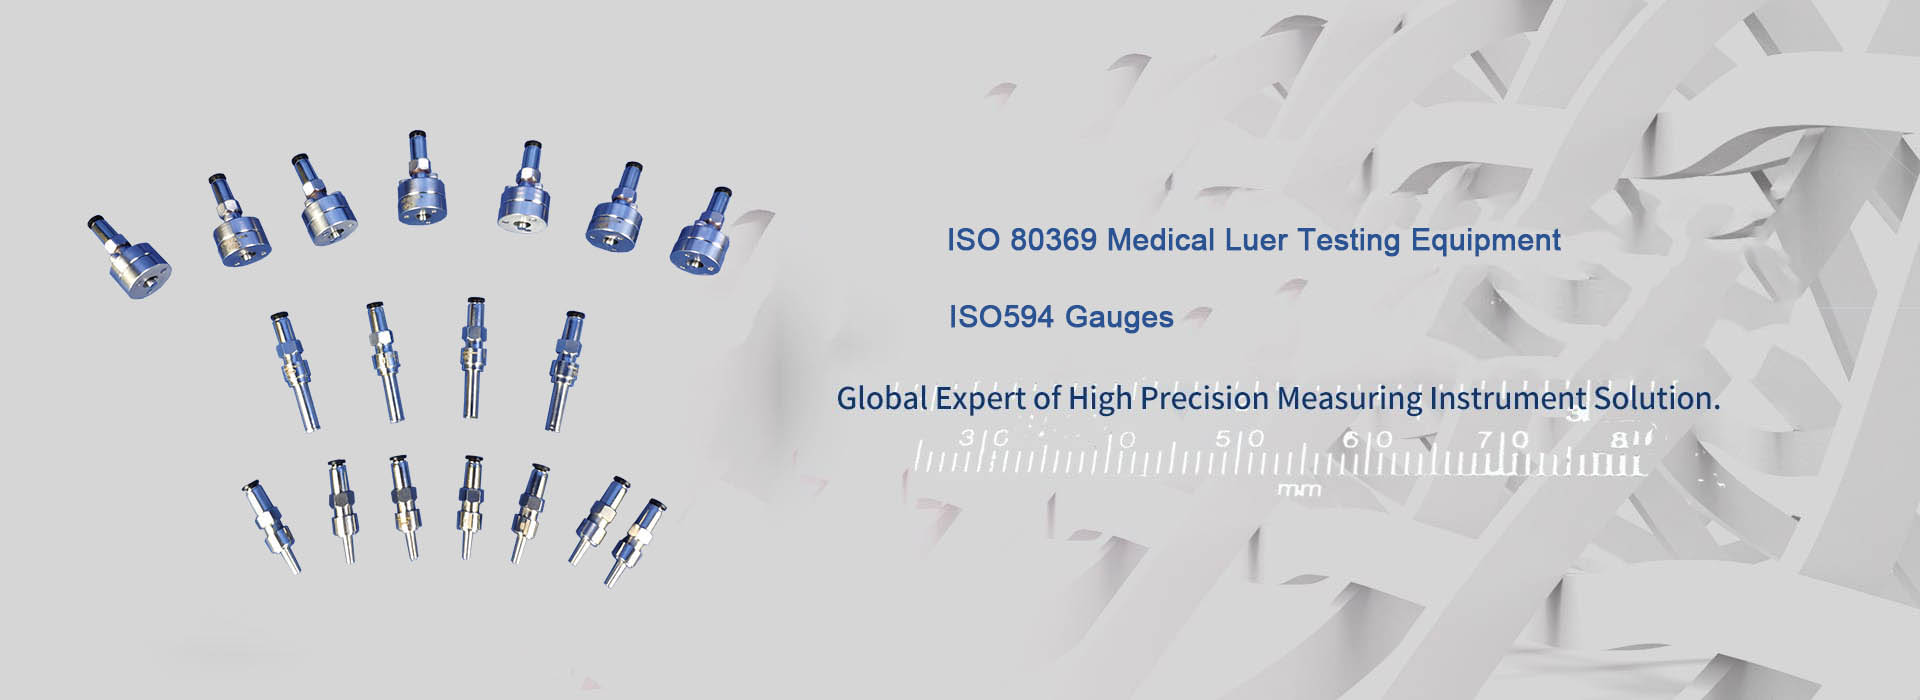
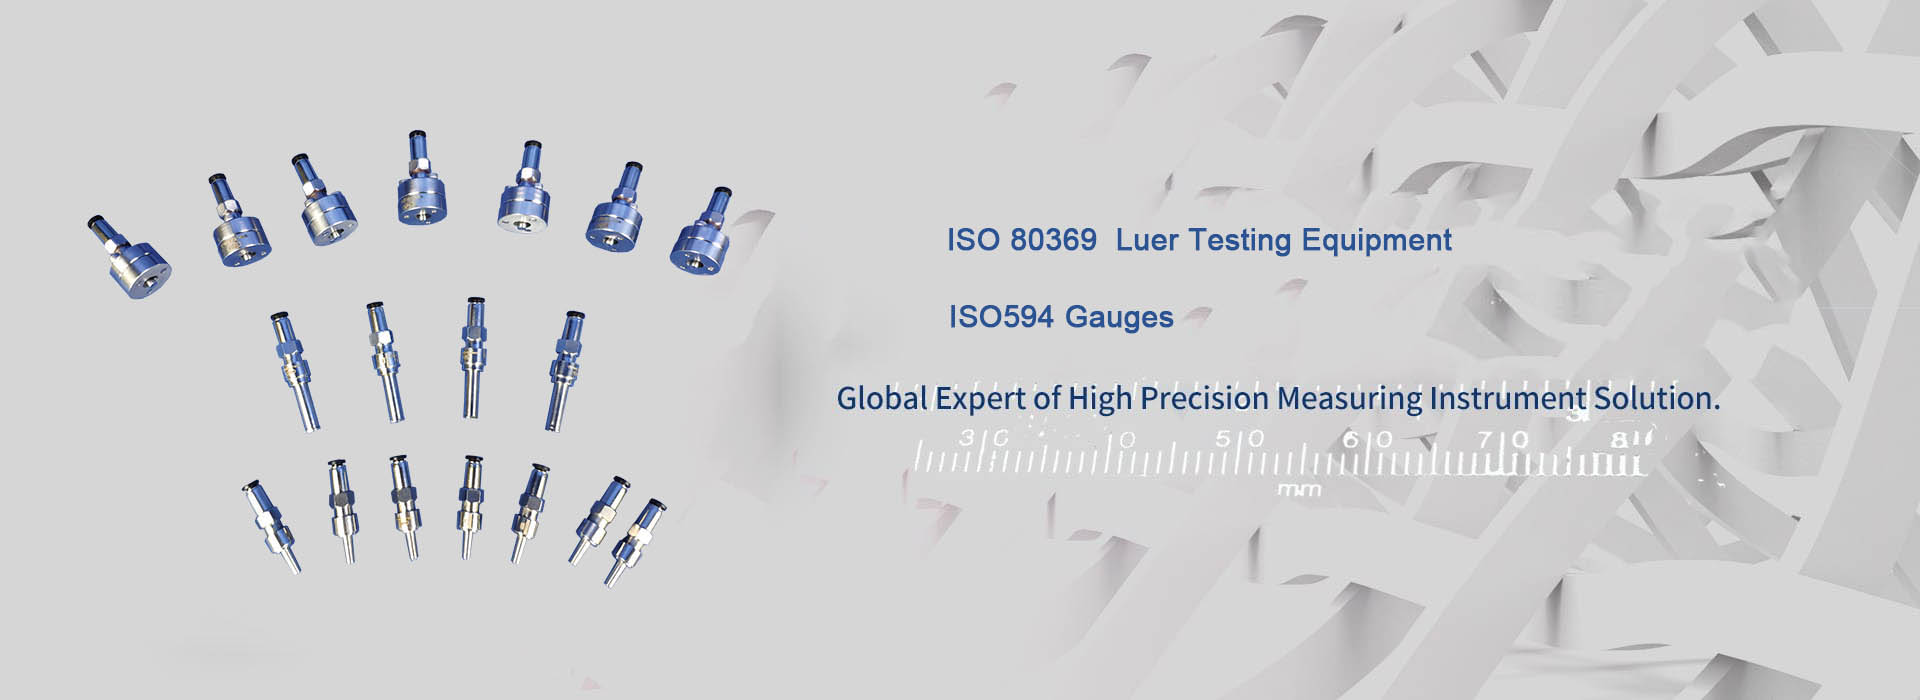
- ISO 80369-7 Luer Connector Gauge with 6% Tape
- Is defibrillation protection testing done correctly?
- Fatal mistakes in IPX9K waterproof test: nozzle size and water temperature control, the truth you must know
- What are the key differences between ISO 80369-7 and ISO 594?
- ISO 80369-7 Luer Gauge Checklist
- KINGPO Company Unveils Next-Generation Electrosurgery Analyzer
- KingPo CEO invited to the 83rd International Electrotechnical Commission (IEC) General Assembly
- ISO 80369-7:2016 Connectors with 6% (Luer) taper for intravascular or hypodermic applications What is the ISO 80369-7 standard? What happened to ISO 594-1 and ISO 594-2?
- Understanding ASTM F2059 Fluid Flow Test: A Comprehensive Overview
- Medical Device Pressure Validation: Ensuring Accuracy and Reliability